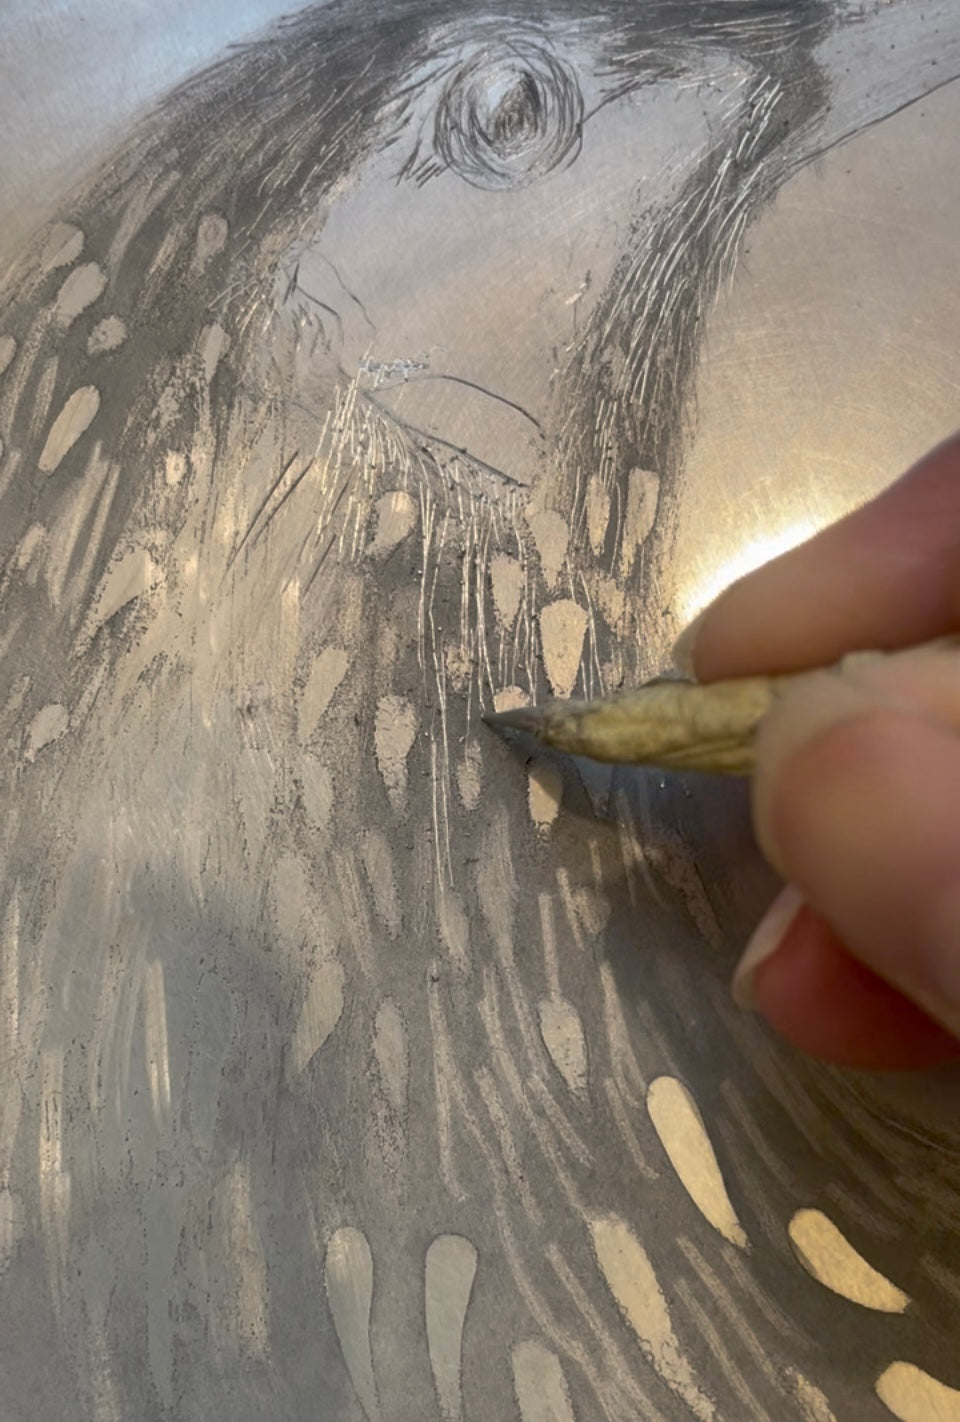
Using the first proof (see previous blog post) as a reference I can now see where the plate needs more work done to it. I use a drypoint etching needle to make more scratched lines in the plate.


In some areas I use a folded up piece of sandpaper to create lines. I rip off a small square...

and fold it over a few times.

The folding gives a nice edge with which to draw.

I inked the plate up for its 2nd proofing and printed it. This time I inked it up in sepia browns and added extra colours to the plate (I will show this inking up process in my next blog post.) You can see in the image below the progression of the plate. The difference between the 1st and 2nd proof. I can still see areas I need to work more into the image, but I'm really enjoying the mark making process in this piece.

Below is a close up of the how the different marks appear when printed. The fat white streaks are where the PVA glue protected the plate from the spitbite acid. The thinner white streaks on the right hand side are burnisher marks made in the acid bitten areas. The fainter lines within the yellow area are made with the folded sandpaper

I will keep working more into this plate and in my next blog post I will show how I ink it up in multiple colours and print it as part of an edition.


