This is the plate finally finished so now I'm going to ink it up and edition it. Remember that each time I ink up the plate it'll only give me one print. The inking up process has to be repeated for each print in the edition. To see the process of making the plate please see my previous blog posts. 
I have all my inks mixed up and ready on the glass top table.

I start by applying the ink onto the surface of the plate. The ink is a water soluble oil based printmaking ink. I use Caligo Safe Wash. I apply it with a rubber tool called a kidney, it's actually a ceramics tool but works very well for ink application.

I then rub the ink into all the lines using a loosely woven cloth called tarlatan, rubbing in small circles, then gradually I wipe off the excess ink, leaving the ink just in the lines.

It's good seeing the image emerge from the inky darkness!

I then add other colours straight onto the plate. This process is called a la poupee or dolly printing. It is an alternative to making multiple plates and inking each in a different colour to be printed on top of each other. A la poupee technique is a faster process, but sometimes the colours don't come out as vivid as a multi plate etching due to each added colour retaining a bit of the residue of the initial inked up colour. But I find it works well for my bird etchings. Below I add the yellow of the belly, I blend it into the brown underneath.

I then add a little black ink to the tarlatan (or in this case I'm using cheescloth.) Just a smidge of ink, not too much.

...and gently blend it into the wing area....

... and on the eye.

Then using an (ECO FRIENDLY!) cotton bud I apply red ink to the red wattles.


I gently blend the red ink in with the cheesecloth, then with the clean end of the cotton bud I wipe away all the ink in the areas I want really white.

...including the striated markings on the breast and belly...

...and on the end of the tail feathers.

Finally, to give the bird that little glint in the eye, I use a sharpened stick (for maximum accuracy) and wipe the glint clean of ink.

Now it's time to get the cotton rag paper out of the water bath. It's been soaking for anywhere from 5-10 mins to a couple of days (yes I forget that I've got paper in the bath sometimes.) The wet paper gets blotted between newsprint paper so it is only damp with no glistening water on its surface.

and it gets brought over to the press bed. For these larger prints I like to put the paper in place first then move the press bed a little trapping the edge of the paper under the roller. This ensures the paper stays in place while I lift it up and place the inked up plate in the correct position.

The plate and the paper then get the press blankets laid on top and everything it rolled through the roller. The roller is adjusted so it is very tight and the paper and plate are put under a lot of pressure as they are rolled through.

Then the exciting part! As you lift the paper you see that the ink has been transfered from the plate onto the paper. You can even see where the damp paper has embossed around the plate.


And then the whole process is done all over again and again and again, in this case 16 times (actually 17 because the artist is allowed to keep one as an AP - Artist Print)
All the prints then go into drying boards with weights on top so the paper dries nice and flat. They stay in the boards for about 4 days.

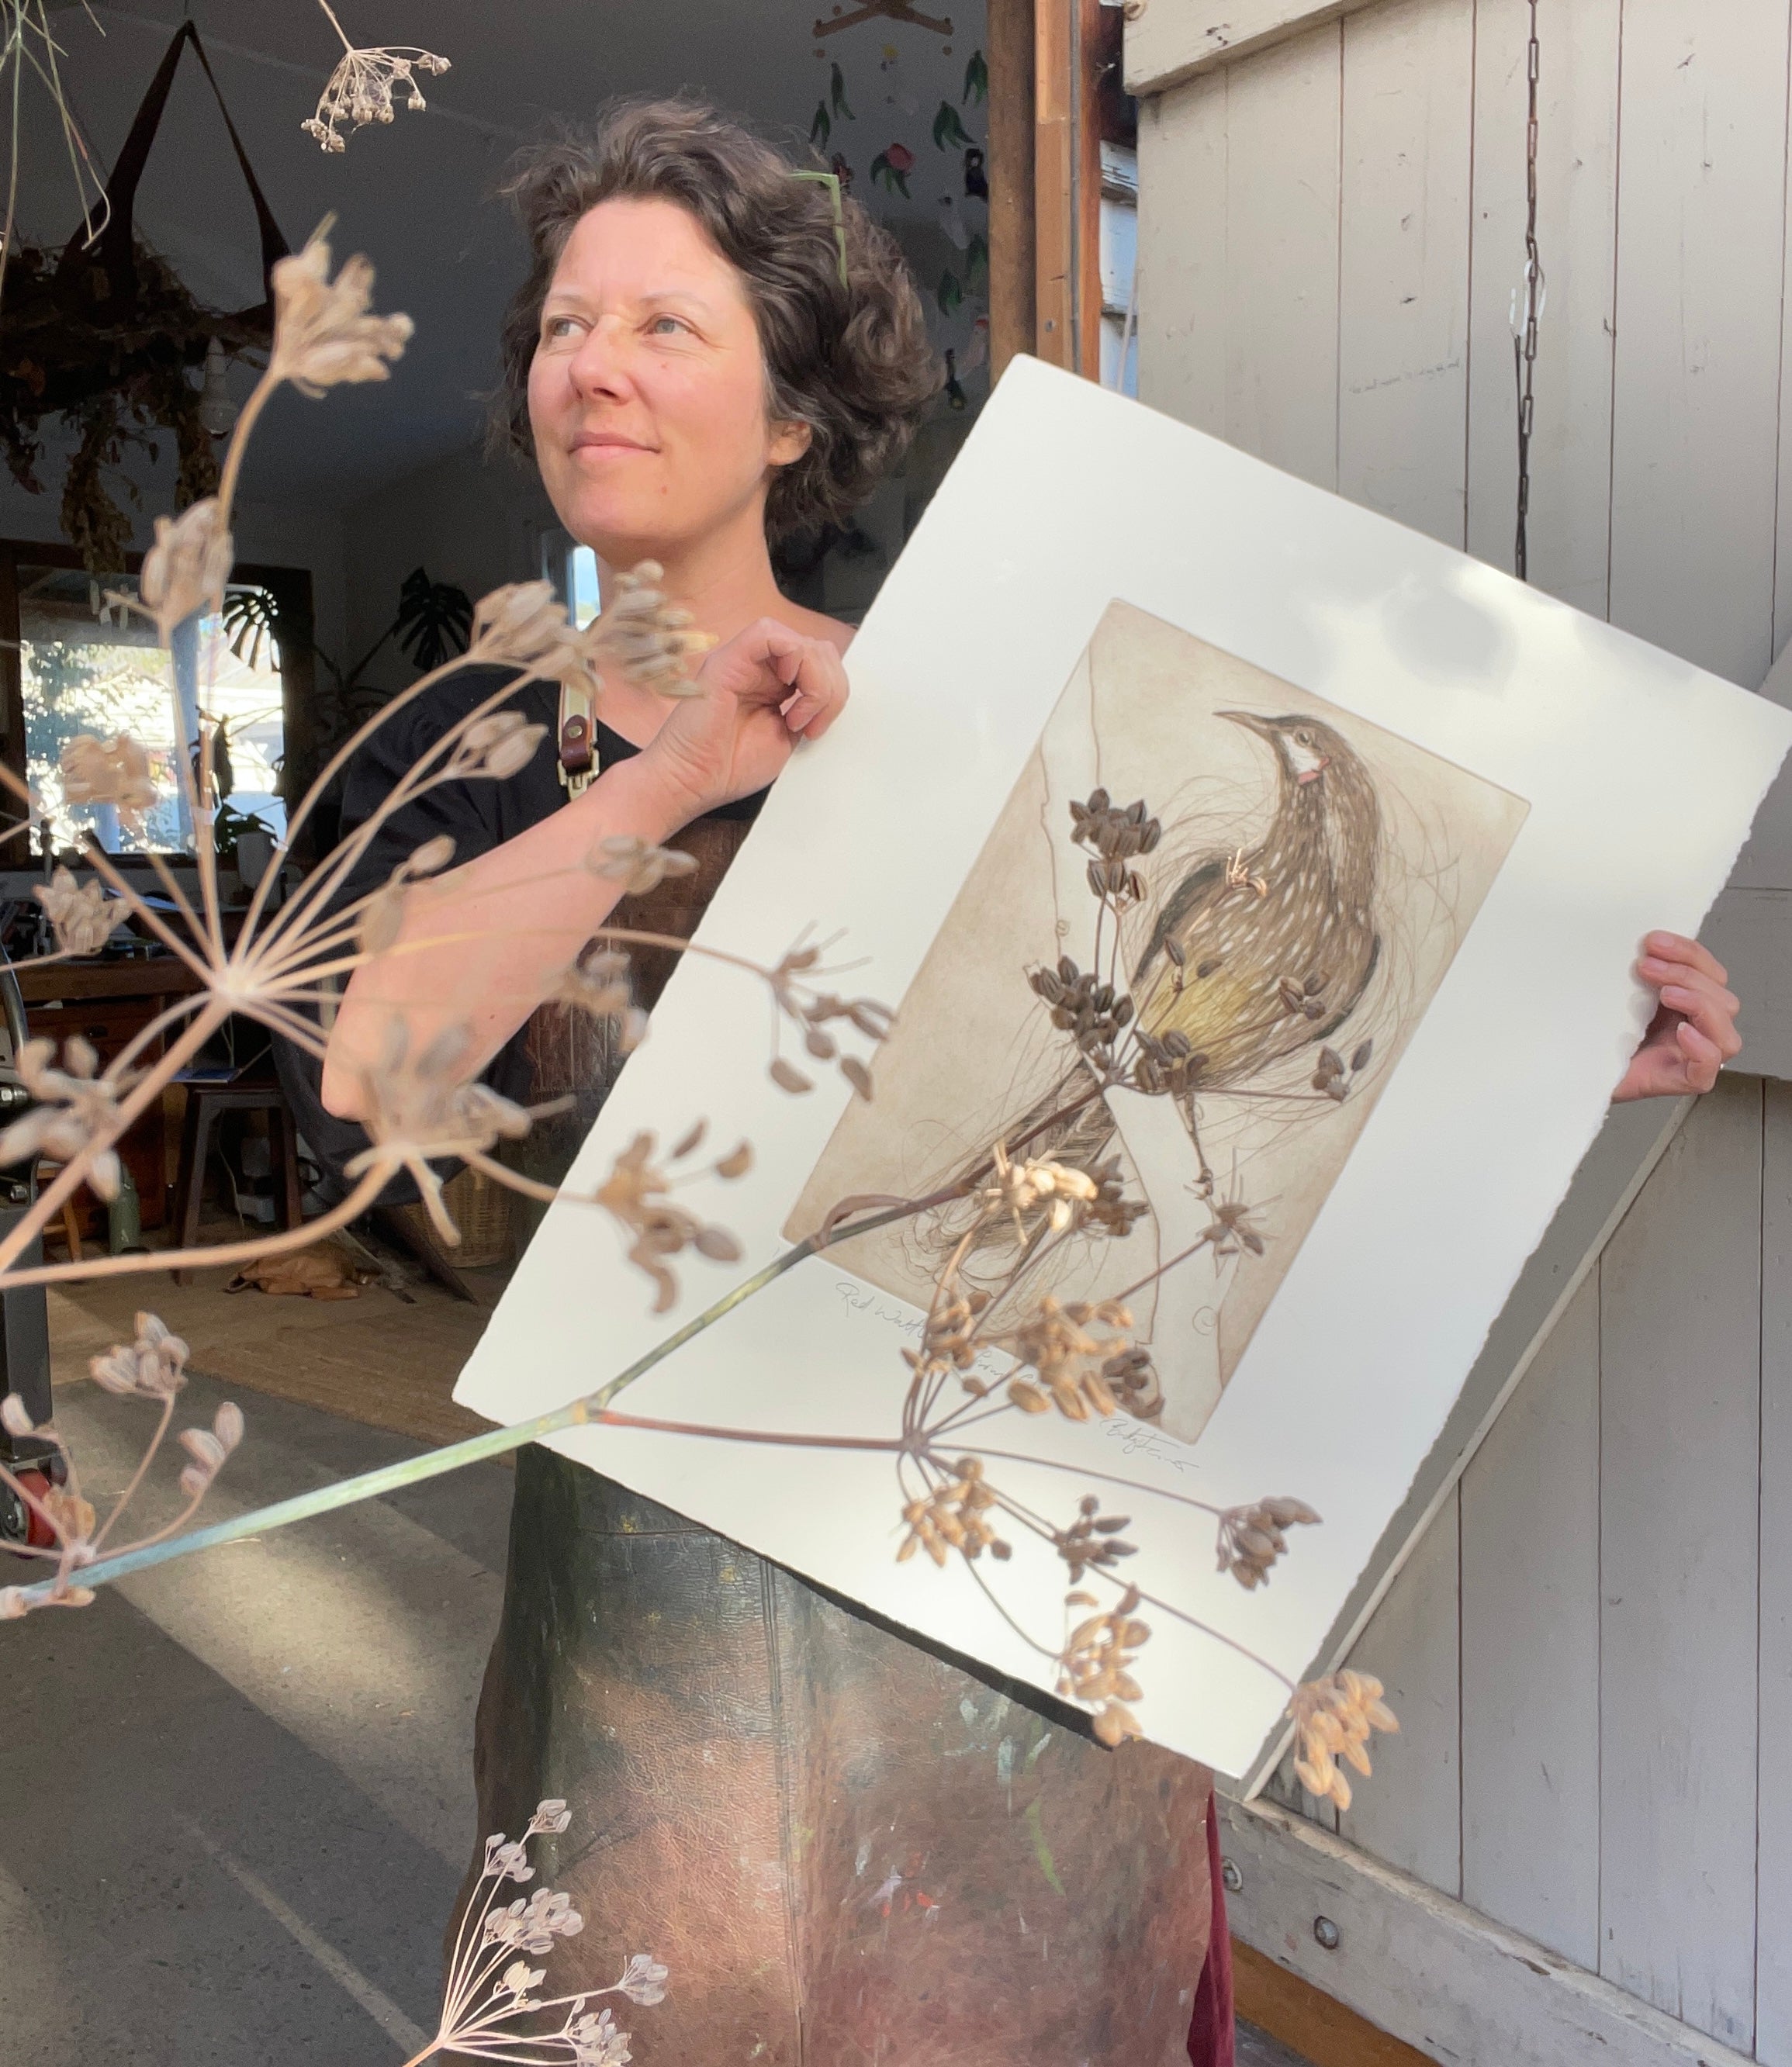
I then number the prints, title them and sign them and make them available for sale!


