Part 2 - Making the Plate
After I've got the initial image outline sketched onto the aluminium plate I then have to start making the marks, the scratches, the roughed up areas of the plate. All the places where I've un-smoothed the surface of the metal will hold ink and create lines and tone when printed.

Working from a photograph I took of a red wattlebird that I'd met in Chiltern, Victoria, late last year, I used a waterproof white pencil to get the initial image onto the plate (See blog post Part 1.)
 I wanted to include some areas of tone in this piece- to get that darker body of the bird with the white striated marks down its breast and belly. To do this I chose to have a play with spit bite. Spit bite is a technique using acid painted on the surface of the plate in specific areas. You'll find out why it's called spit bite soon!
 To create the white striated streaks I needed to protect the metal from the acid so I painted PVA glue onto the plate and hoped that it would work!

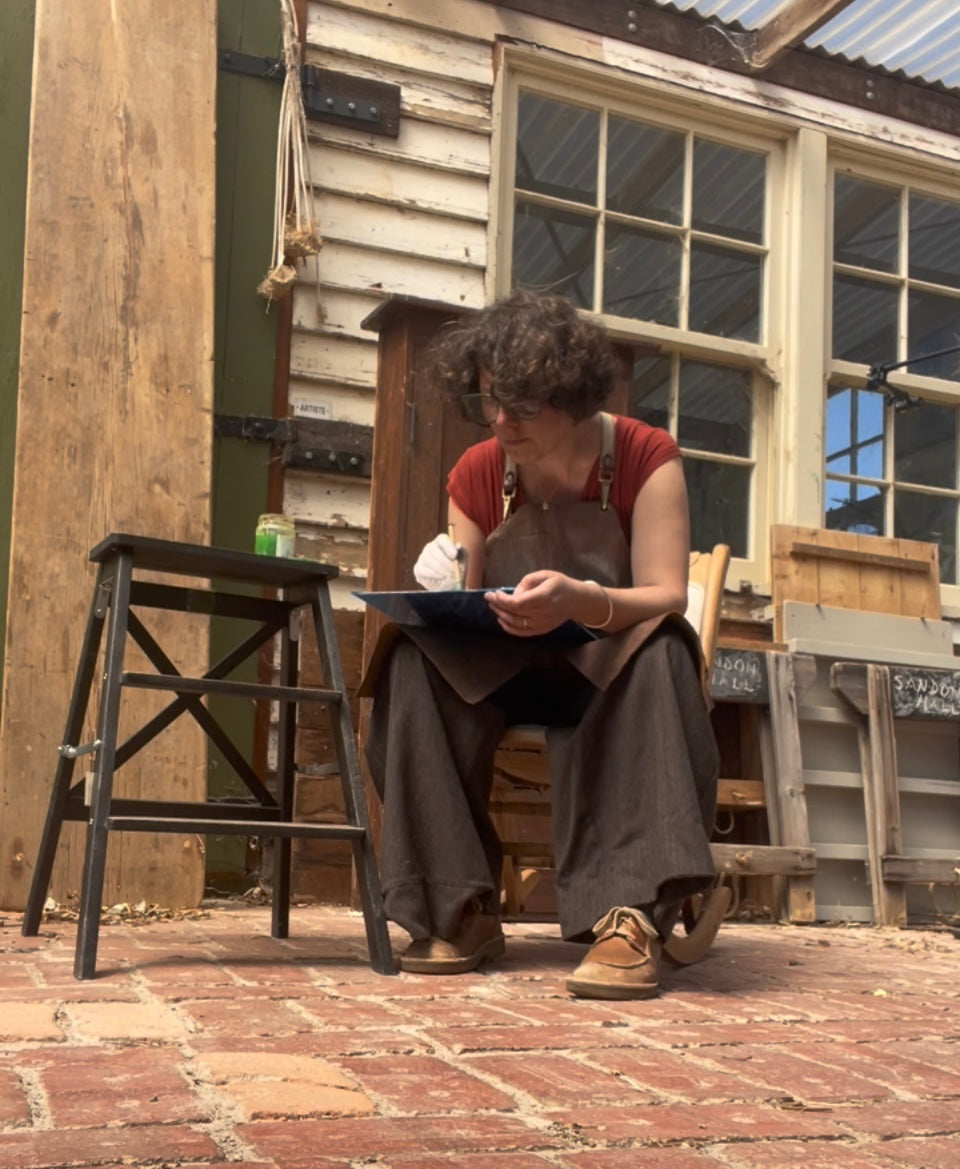
I then brought everything outside while I dealt with the acid part. The acid I used on the aluminium is copper sulphate which is a much safer alternative to traditional acid etching and works well with aluminium. I'm no expert when it comes to using acid as I normally stick to dry point, but I was up for some experimenting for this plate!

Now here's where the spit in spit bite comes in and therefore where it gets a bit yuk (although I'm not too put off by this centuries old technique!) To ensure the applied acid sits evenly and doesn't creep into areas where you don't want it you first paint saliva onto the desired areas of your plate. 
Above, you can see how I've painted the spit over the body of the bird.

I then start painting copper sulphate solution in the same areas and watch as the acid turns the metal dark in the areas it is eating the surface. I keep adding more acid over a 10 minute period. Painting it thicker in area I want darker and leaving areas I want lighter with less.

After the 10 mins I rinse everything off with water and peel off the PVA glue areas. Some of the bits are easier to peel or scrape off than others and some streaks worked better than others. But I don't mind it not being too exact, it's all part of the process!

Now I need to start scratching the lines. I've used various things to make the rest of the marks on the plate. I mainly use a drypoint etching needle to scratch the lines straight in, like drawing.

But in other areas I've used bits of sandpaper, folded up to create an edge and drawn lines with that. In some areas I've used a burnisher over the acid bitten areas and these lines show up light over dark. There's quite a variety of marks on this plate!

Before I complete this plate I want to see what all of these marks look like so far when inked up and printed. So I'm going to pause the process for now and proof the plate. Proofing is when you ink up the plate and print it to see how the plate looks. It helps the printmaker see how to proceed with making the plate, what's working, where to work more into the plate etc. See blog post Part 3 - Proofing the Plate.
You can also watch videos of all these processes on my instagram - HERE.


