To begin every drypoint etching I first have to draw the image on to the plate. I mostly use aluminium for my printmaking these days. It's cheaper and softer than copper. The softness also means I can't get as many prints from the plate, as the burrs on the edges of the scratched lines dull down quicker than on copper. But I'm ok with that, I don't like making very big editions anyway.
I'm working from a photo I took of a red wattlebird that I met in Chiltern, Victoria, late last year. I love the pose and you can see all the wonderful striated lines all down its breast and into its belly. I have some ideas of how I want to create those white streaks!

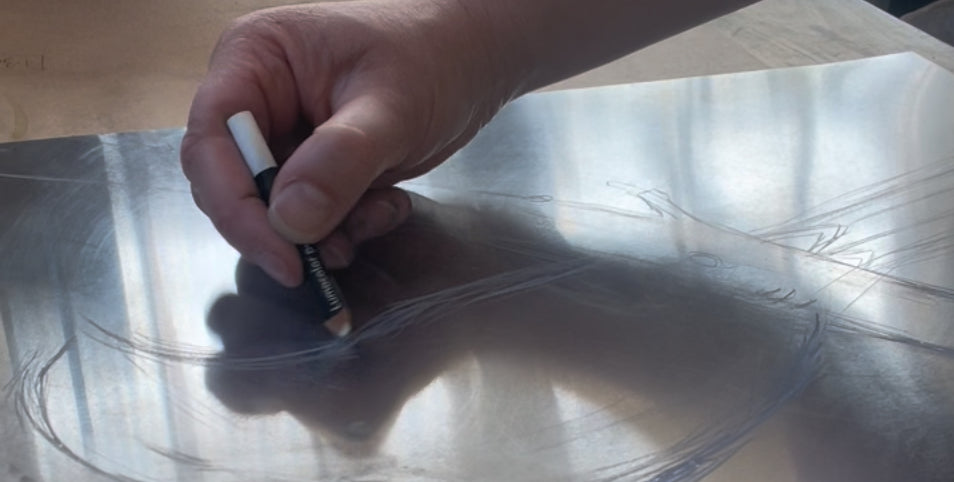
I begin by sketching the image onto the plate. I use a white waxy pencil to do this, in this case a Staedtler Lumocolor permanent waterproof white pencil. I find it shows up well on the metal surface. When begining a plate I have to remember that when it prints it'll appear in mirror image. You'd think after all these years of printmaking I'd remember that, but not this time! After drawing the initial image I realised I didn't want it to be facing that way!

So I wiped it out, flipped the photo on my computer and I started again!


Before I add any detail I try and stand back and have a look at how the composition looks. There's no point in going further if I haven't got the basics right! So I put the plate down on the floor and look.

This made me realised that the bird was too far down on the plate. There was too much space at the top and not enough at the bottom. So I wiped it out and started again!
So, in the end I drew the wattlebird 3 times, but I think it was all worth it, it's looking a lot better and now I'm ready to begin scratching the lines into the plate. See PART 2 for the next step!


